Contact Form

Name

Email *

Message *

Bright Star Club Create

Wednesday, July 24, 2024

Feel Better Soon Unbounded Love Card

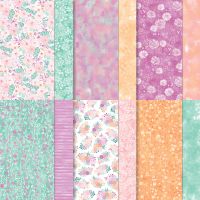
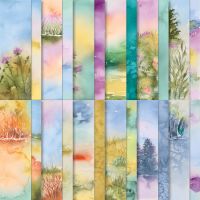
 The Unbounded Beauty Suite Collection on pages 52-55 of the Annual catalog caught my eye the first time through the catalog. The colors are my favorites, there is some shiny paper that coordinates, unique embellishments, and flowers! 

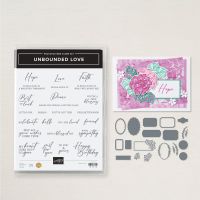
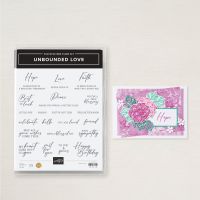
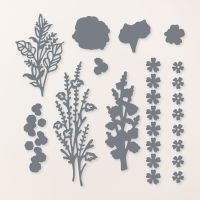
If you haven't noticed the Unbounded Love stamp set, take a minute to check it out. So many sentiments! Plus the dies are sized to fit a lot of the sentiments which is a huge bonus.

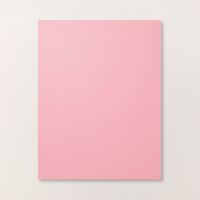
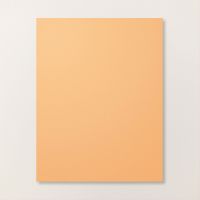
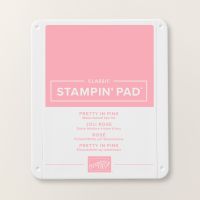
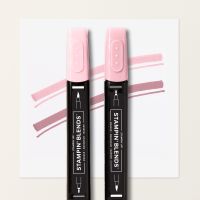
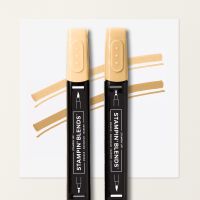
For this card I used what we refer to as the B side of the designer series paper. Pretty in Pink is one of my favorite new In Colors. The Peach Pie glimmer paper adds subtle sparkle and is die cut with one of the dies from the Unbonded Love dies.


Here is my inspiration card from the catalog:


It is a smaller card and is on a white card base. I just sized it up to a regular card and used the same layout for the sentiment. It leaves a lot more free space on my card but the paper takes center stage on this one. 


Close up of the sentiment

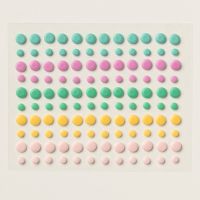
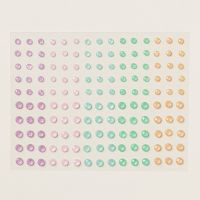
Here is another version with a different sentiment and different color of the Resin Dots.


The inside is an opportunity for more creativity. Here are the two ways I stamped the inside:


Here is the video showing how to make this card: Feel Better Soon card

Cutting Instructions:
Card Base is cut 5 1/2" x 8 1/2" and scored at 4 1/4"
Designer Series Paper it cut 4" x 5 1/4"
The rest of the pieces are scraps big enough to die cut

Thanks for checking out my card. Please let me know if you have any questions or need any help figuring out how to make this card. It is a very easy card to copy.

Until next time,
Mary Lou
Your Independent Demonstrator


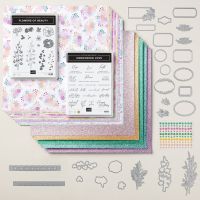
Here are the supplies used to make this card:
Product List

Tuesday, July 9, 2024

How to Make a Fractured Card

Hello! Today I have a fractured card for you. This is my first one because I thought they would be too hard. Well, I was so wrong. These cards turn out so pretty and show off your chosen papers so nicely. 

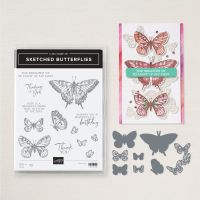
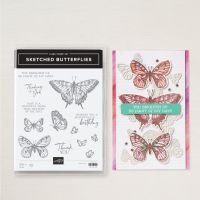
Those butterflies are part of the Sketched Butterflies bundle. Mine are die cut using one of the dies from the bundle. I love the fluttering movement because I didn't stick down the wings. I used a mini glue dot in the center of each butterfly. 


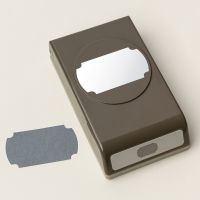
The Unbounded Beauty designer series paper has colors I really like. The secret to a fractured card is the 2" square center! It is mounted at an angle like a diamond. The 1/2" strips are added next and trimmed off at the edge of the piece of Basic White cardstock. I used 4 1/4" pieces of the DSP to adhere next. The corner will line up perfectly is you have been careful to line up the strips accurately. That's the only thing hard about this card-accuracy. The label is punched with the new 

Here is the video I did showing have to make this card: HERE

Cutting Instructions:
Card Base: 4 1/4" x 11", scored at 5 1/2"
Basic White cardstock to build card front: 4" x 5 1/4"
Center square: 2"
Shimmer Strips: 1/2" x 4 1/4"
DSP for corners: 4 1/4" squares
Inside liner: 4" x 5 1/4"

Thanks for stopping by! Hope you have fun making a fractured card.

See you soon,
Mary Lou Foster
Your Independent Stampin' Up! demonstrator

Product List

Thursday, June 27, 2024

Sketched Butterflies Fun Fold Plus Pretty Paper

Today's card uses very few products and features the beautiful Thoughtful Journey designer series paper and on of the new In-Colors-Peach Pie cardstock. Plus it is a fun fold card. It may be called a z-fold card. Cutting and scoring instructions are below. 


How pretty is this? The Sketched Butterflies stamp set completes the card. Those Stampin' blends are so easy to use to color those butterflies. The embellishments are the 24-26 Shimmer In-Color dots add just the right amount of sparkle. 


Here's the inside of the card:


The little piece of the designer series paper adds detail to the inside fold that matches the outside fold. 

Cutting Instructions:
Card Base: 5 1/2" x 8 1/2". Score one side that will be the front at 2 1/8" and 4 1/4". 
DSP: Cut two pieces at 2" x 5 3/8", one for the outside and one for the inside. Cut a strip 3/4"x4" for liner
Front Panel: cut Peach Pie at 2 3/4" x 4 1/4" and Basic White at 2 1/2" x 4"

Want to see how I made this card? Here is the video: CLICK HERE

Thanks for stopping by to see this card. I really appreciate the support. Hope you like the card and even make one for yourself. 

Until next time, happy stampin',
Mary Lou Foster
Your Independent Stampin' Up! Demonstrator

My Online Store: Click Here

The supplies I used to make this card:


Product List

Wednesday, June 19, 2024

Masculine Cards with the Trusty Tools Bundle

The next Online Class offering is one with a masculine theme. If you are like me, you need some masculine cards occasionally. This little class features the Trusty Tools bundle and would make some nice manly cards for your card stash. The ones I made were for Father's Day but it would be easy enough to substitute sentiments for birthday cards. 

This class is available with any order in my Online Store using this link: SHOP NOW. The host code is already added so all you have to do is shop. The Trusty Tools bundle is an extra 20% off the month of June! You might want to add that one to your stamp shelf.

To see how I made these cards, here is the video over on my You Tube Channel.  Since this is an Online Class, the video is a bit longer than usual. My tip: fast forward as needed to find the card you want to make.

When you order, I will send the PDF instructions for these cards. 

This card is a gift card holder! The card base is flat and the center panel opens. This one can be a birthday card because there is no sentiment on the inside but there will be room to write your own message. I like cards like that sometimes. 


Here's the inside view:


Lots of texture on this card. And all those tools! In my video, I distressed the embossed layer and tool box to add even more texture and definition. You know dad's work shop is not all that clean!


The Country Woods Designer Series Paper has so many distressed wood options. This one is perfect for that rustic, cabin fell. The 'paint' on the paintbrush is added with Lost Lagoon stampin' blends. I have used a Thank You stamp on my extra cards for this one. It can also be adapted to a Happy Birthday card. Did your dad have a pencil in his tool box? Mine did. 


If you would like this card class sent to you, all you have to do is place an order in my online store with this link: SHOP NOW.

Thanks for stopping by!!

Happy stampin',
Mary Lou
Your Independent Stampin' Up! Demonstrator

Product List