Right now, I have boxes everywhere, and I'm having to work my way around them. But it will all be worth it when I finally get that big computer cabinet out of the room. Just think of all the extra space I'll have for crafting supplies! Well, maybe I shouldn't think about that too much. Ha!
A Happy Birthday Card with a Little Personality!
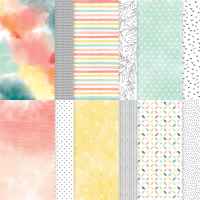
Today's card is just plain HAPPY! I love the soft, cheerful colors in the Beautiful Ordinary Life Designer Series Paper. Those lighter colors just make me smile.
One of the things I really like about this paper is how different the two sides are. The "A" side is full of pretty colors, while the "B" side features black-and-white designs. That gives us so many possibilities!
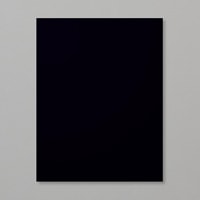
And don't you love how that small mat of Basic Black makes the center panel pop? Such a simple little detail, but what a difference it makes!

A Little Shabby Chic!
Did you notice the torn-paper detail?
I think that little bit of shabby chic gives this card so much personality! And here's the fun part — both patterns came from the very same piece of Designer Series Paper!
I started with a 3" square, tore off one corner, flipped that little piece over to show the black-and-white polka dots, and layered it back onto the colorful side.
Isn't that a fun way to use both sides of your paper? And no waste, either!

Another Clever Little Trick!
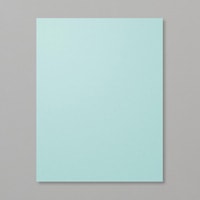
Take a closer look at the Pool Party scalloped detail tucked behind the birthday greeting.
Would you believe that's just one scalloped circle cut in half?
I have to give credit to a fellow Stampin' Up! demonstrator for sharing that clever idea. By placing the two halves behind the label, you get a pretty little accent without needing another die.
I love finding ways to make our supplies go a little farther, don't you?
To finish it off and give it a little bit of sparkle, I flicked Wink of Stella on the label before I adhered it to the card front. How fun is that?
And we can't forget the inside! A handmade card deserves a little something special when you open it, don't you think?

Let's Talk Measurements!
This is a fun card to make, and you don't need lots of complicated layers. Here are the measurements so you can make one, too!
Cardstock and Cutting Measurements
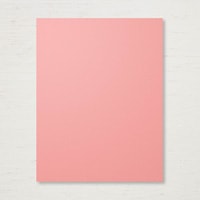
Flirty Flamingo: 5 1/2" x 8 1/2", scored at 4 1/4" and folded for the card base
Basic Black: 5 1/8" x 3 7/8"
Basic White: 5" x 3 3/4" for the front and 5 1/4" x 4" for the inside
Beautiful Ordinary Life DSP: One 3" square and one strip measuring 3 3/4" x 1 1/2"
Pool Party: Scrap for the scalloped circle
Basic White: Scrap for the die-cut greeting label
If you'd like to see how I put everything together, be sure to watch my Coffee, Chat and Cards video. I'll show you how to create that torn-paper detail and use the scalloped circle trick.
Sometimes it's those little touches that make a handmade card extra special!
Ready to Make Your Own?
I've included my complete supply list below so you can see everything I used to make this card.
If you need any supplies, I'd love for you to shop with me at my online store.
And if you're not already receiving my emails, I'd love to have you join my stamping friends! You'll hear about upcoming classes, card ideas, and other fun things happening in my craft room.
Thanks so much for stopping by today. Now I'd better get back to those boxes before I lose my craft room completely!







No comments:
Post a Comment