Hello!!
Did you survive the time change? It's nice to get up when the sun is already shining, but goodness, it sure feels like it gets dark early now!
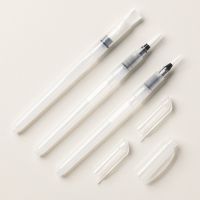
Today's card is full of fun little surprises! We're water painting the background, combining some unexpected products, sharing tips for dealing with stubborn die cuts, and even creating a pocket for a gift card.
Those are just a few of the little "secrets" I have to share with you today!


Those circles add such a fun touch, and they're actually a combination of some unexpected products!
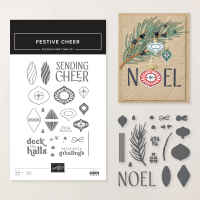
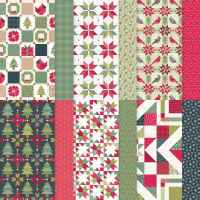
I first made this card on a crafting cruise in August, sponsored by my friends Melanie Hockin and Brenda Zorn. Stampin' Up!® had just released some new Online Exclusives in July, including Christmas products like the Festive Cheer Bundle and A Stitched Season Designer Series Paper.
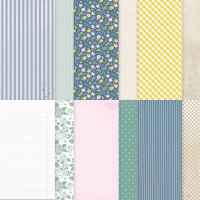
These talented ladies came up with the clever idea of combining A Stitched Season DSP with Everyday Essentials DSP. Who would have thought those two papers would work so well together?
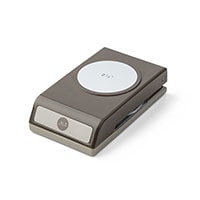
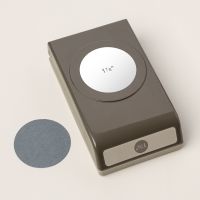
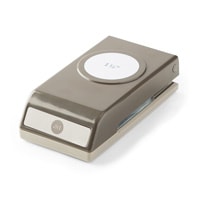
The circles were cut with punches, but don't worry if you don't have the exact sizes I used. Just choose three different sizes, or pull out your Stylish Shapes Dies. That set has several circle sizes that would work beautifully!
And there's one more surprise! This isn't just a Christmas card. It has a little pocket inside that's perfect for tucking in a gift card. Such a fun way to make a gift card feel a little more personal!

Be sure to watch the video to see how it all comes together. I've also included a handy tip for dealing with those stubborn little die cuts that just don't want to come out!
Cutting Instructions
Card Front
Card Base: Basic White cardstock, 4 1/4" x 11", scored and folded at 5 1/2"
Layer 2: Basic White cardstock, 4" x 5 1/4"
Circles: Scraps of coordinating Designer Series Papers for punching three circles
Branch: Crumb Cake cardstock for die cutting
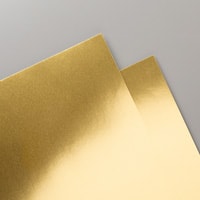
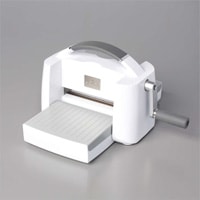
Heart and Bow: Gold Foil Sheets for punching and die cutting
Sentiment Label: Lined Everyday Essentials Designer Series Paper, 1" x 2"
Inside of Card
Gift Card Pocket: Everyday Essentials Designer Series Paper, 4 1/4" x 2 1/4"
Decorative Strip: A Stitched Season Designer Series Paper, 1/2" x 4 1/4"
Ornament and Sentiment: Basic White cardstock scraps for stamping and punching
A Little Tip: You might notice that my gift card pocket doesn't quite reach the edges of the card. Well, I accidentally cut mine a little too short! The measurement listed above is the correct one. Just another reminder that handmade doesn't have to be perfect!
Thanks for stopping by to check out this fun little gift card holder! I hope you'll give it a try. If you do, I'd love to hear how yours turned out. And if you have any questions, just leave me a comment. I'm always happy to help!
Happy stampin'!



No comments:
Post a Comment