Hello, My Stampin' Friends!
Welcome back! I don't know about you, but time is just flying by! I've been busy planning a wonderful lineup of classes for November, and I think you're going to love what's coming!
Can't join me in person? No problem! How about having a class kit delivered right to your door? My November Christmas Mice Club Create is one of the classes available by mail, so you can enjoy some creative time right at home!
The best way to keep up with all my classes, special offers, and upcoming events is to join my email list! That way, you won't miss a thing.
Now, let's talk Christmas cards!
Today's card features products from Stampin' Up!®'s A Stitched Season collection. I'm calling this one my Stitched Season Christmas Tree Card, and I love how it turned out!

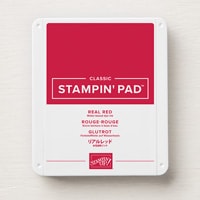
The original card design is from Ronda Wade, but I'm pretty sure she wouldn't recognize it after I got through with it! I made a few changes, starting with the color scheme. I chose Peaceful Pine and Real Red for that classic Christmas look.
And that pretty striped layer? It's Shimmering Stripes Specialty Paper, and oh my goodness, does it sparkle! It's one of those papers you really need to see in person because a picture just doesn't capture all that shimmer.

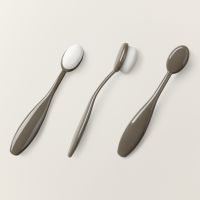
I used a Blending Brush to add a little Real Red ink behind the tree layer. It looked a bit too white to me, and blending is such an easy way to add just a touch of color!
The Stitched Stocking Dies have so many possibilities! You can use the die cuts just as they are or change things up by cutting them apart and rearranging the pieces.
I wanted my Christmas tree to stand out from the Peaceful Pine square, so I cut a second one and used my Paper Snips to carefully cut out the tree. It was surprisingly easy because the pieces are barely connected in the original die cut. And you know what? It turned out even better than I expected!
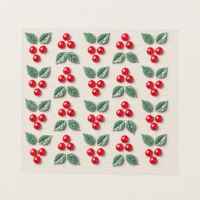
Did you notice the two holly clusters? One is cut using the Stitched Stocking Dies, while the other is from the Adhesive-Backed Christmas Berries. I love how they each add a little texture and interest in their own way.
And don't forget the inside! I added some stamping there, too. The Stitched Stocking stamp set has some fun quilting-inspired images that are perfect for carrying the design to the inside of the card.

Cutting Instructions
Peaceful Pine Card Base: 4 1/4" x 11", scored and folded at 5 1/2"
Shimmering Stripes Specialty Paper: 4" x 5 1/4"
Real Red Layer: 3 1/4" x 4 1/4"
Basic White Layer: 3" x 4"
Die-Cut Pieces:
Real Red: Die cut a square using the Stylish Shapes Dies.
Peaceful Pine: Die cut the Christmas tree design using the Stitched Stocking Dies.A Stitched Season Designer Series Paper: Choose your favorite pattern and die cut the tree design using the Stitched Stocking Dies. Then use your Paper Snips to carefully cut out the tree.
I hope this card inspires you to try something a little different with your dies and Designer Series Paper. Sometimes a little snip here and there opens up all kinds of possibilities!
Thanks so much for stopping by today. I hope you find a little time to get creative this weekend!
Happy Stampin'!
Mary Lou 💜
Your Independent Stampin' Up!® Demonstrator