Hello, friends!
How's everything going at your house? Things have been pretty busy around here! I think I've mentioned before that I make welding caps in addition to hosting card classes. For some reason, whenever I'm especially busy with cards, the welding cap orders start coming in, too! Right now, I have three orders to fill, along with a few special orders for Christmas items. Sometimes time management can be a real challenge!
If you've joined me for Coffee, Chat and Cards on my Facebook page, you know that we're now meeting on Wednesdays at 2 PM. I always like to show off my coffee cup because I have quite a collection! This week's cup was one our local airport sold for the solar eclipse in April 2024. We were under the path of totality here in Sulphur Springs. That was certainly a memorable event!
Well, enough chatting for today. Let's get to the card!
Do you like poinsettias? Did you know that they can grow into large shrubs in Mexico? I love the beautiful colors they bring to the Christmas season.
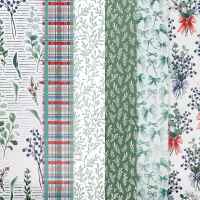
Today's card features Stampin' Up!® Pretty Poinsettia Bundle paired with the All Wrapped Up Specialty Designer Series Paper. I chose a slightly different color combination for this Christmas card, and I love how it turned out!

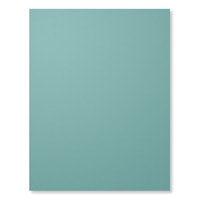
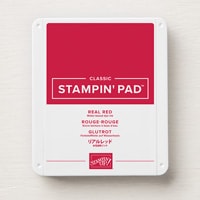
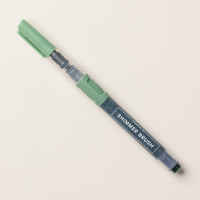
There are several special things about this card! First, it's a fun fold, which always adds a little extra interest. The color combination is Lost Lagoon and Real Red, and I used two-generation stamping to create different shades on the poinsettia. I also added a little shimmer by coloring in the open letters of the word "Joy" with the Peaceful Pine Shimmer Brush.
It's those little details that make a handmade card special!


Cutting Instructions
Card Base: Lost Lagoon cardstock, cut 5 1/2" x 8 1/2". Score at 2" and 4 1/4".
Fold the card in half at the 4 1/4" score line, then fold the 2" section back toward the left. You can adhere this section so it stays folded or simply leave it folded back. Use your bone folder to make nice, crisp folds.
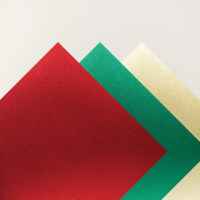
Center Panel: Timeless Metallic Specialty Paper, cut 3 1/4" x 4 1/4"
Basic White Layer: Cut 3 1/8" x 4 1/8"
All Wrapped Up Specialty Designer Series Paper:
Front left panel: Cut 1 3/4" x 5 1/4"
Cut two additional pieces, each 2" x 5 1/4"
Inside of Card: Basic White cardstock, cut 4" x 5 1/4"
Stamping: Additional Basic White cardstock for stamping the poinsettia and other elements
Watch the Video
Want to see how this card comes together? Join me for Coffee, Chat and Cards as I demonstrate the fun fold, share a few stamping tips, and show you how I added those special touches to the poinsettia and the word "Joy."
You can follow along and make one of your own!
If you'd like to make this card yourself, you'll find the supplies I used listed below. Just click on any product to see more information or add it to your shopping cart. I always appreciate it when you choose me as your Stampin' Up! demonstrator!
Thanks for stopping by today! I hope this card inspires you to try a fun fold or add a little shimmer to your next Christmas card.
Happy stampin'!

Your Independent Stampin' Up!® Demonstrator 💜



No comments:
Post a Comment